Selling a Venice home is about more than square footage. Buyers come for a relaxed, curated coastal lifestyle and expect spaces that feel bright, breathable, and ready to enjoy. If you want your listing to stand out, your staging should tell that story from the first photo to the final walkthrough. In this guide, you’ll get a practical, room‑by‑room plan tailored to Venice’s climate, architecture, and buyer expectations, plus timelines, budget guidance, and photo tips you can use right away. Let’s dive in.
Why Venice staging is unique
Venice buyers value lifestyle. They want interiors that feel light and open, with clear indoor–outdoor flow and low‑maintenance finishes. Compact floor plans are common, so scale, circulation, and sightlines matter as much as decor.
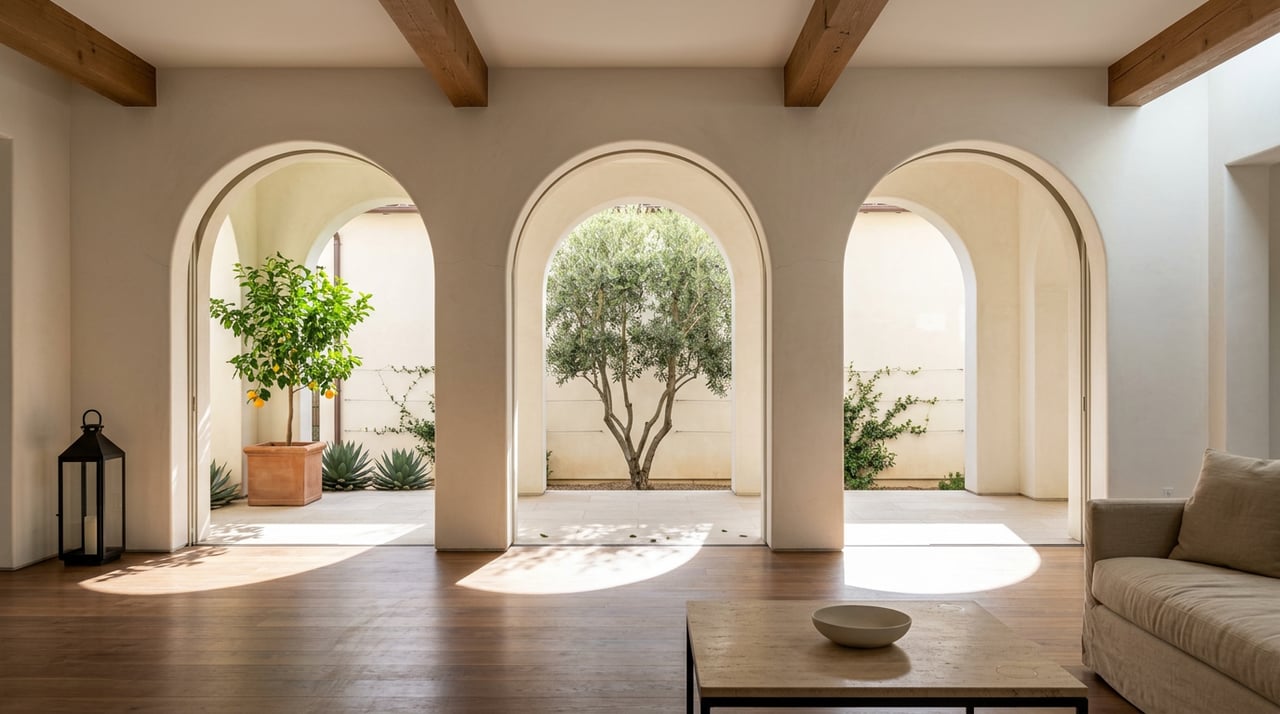
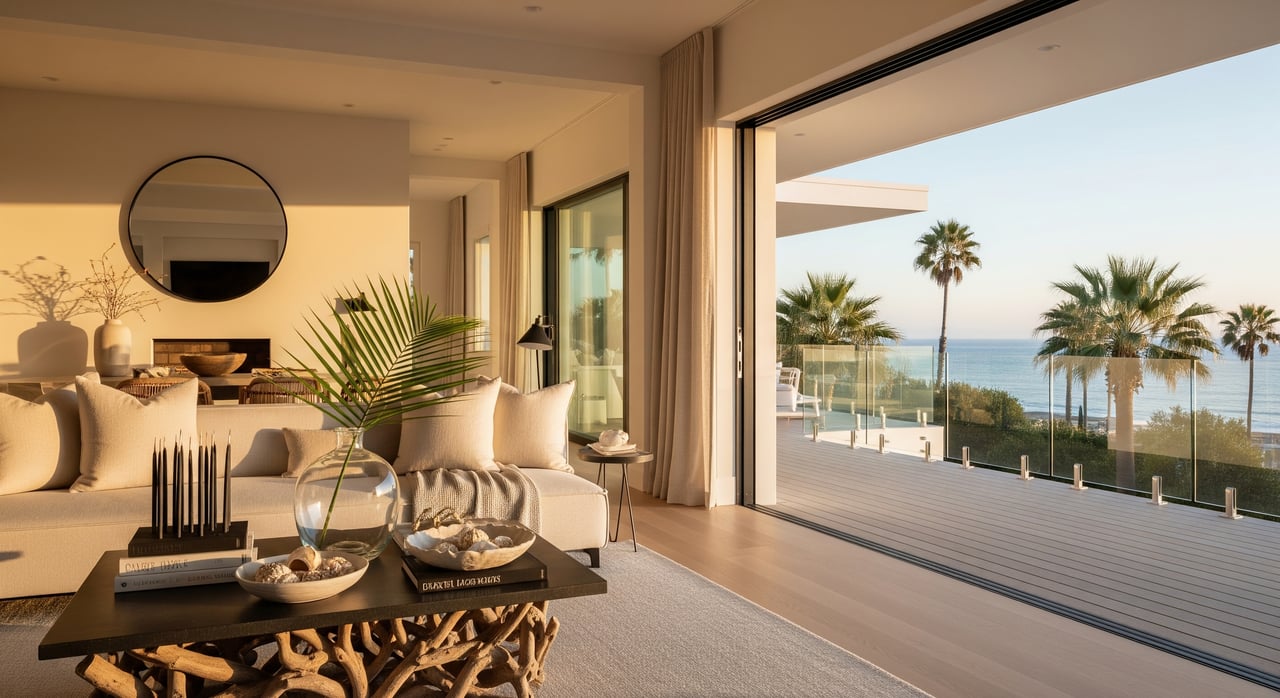
The local climate brings abundant natural light and a soft marine layer. Your staging should harness that daylight with pale woods, warm whites, and layered textures that read beautifully in photos. Outdoor areas are used year‑round in Venice, so patios and balconies need to look as inviting as your living room.
Culturally, Venice blends artisanal, boho‑modern influences with canal serenity and a hint of surf and bike culture. That means clean lines, curated handmade accents, and subtle local references. Keep it calm and authentic, not kitschy.
The Venice palette and materials
A cohesive material story helps buyers see a turnkey home. Aim for a light, natural look that photographs well in coastal light.
- Light woods: bleached oak, maple, or whitewashed finishes
- Base tones: warm white, soft sand, muted seafoam or blue accents
- Textures: linen, rattan or cane, jute or seagrass rugs, smooth light wood
- Performance fabrics: solution‑dyed acrylics or quality polyester blends that resist sun, stains, and moisture
- Outdoor textiles: outdoor‑rated cushions and rugs designed for UV and coastal conditions
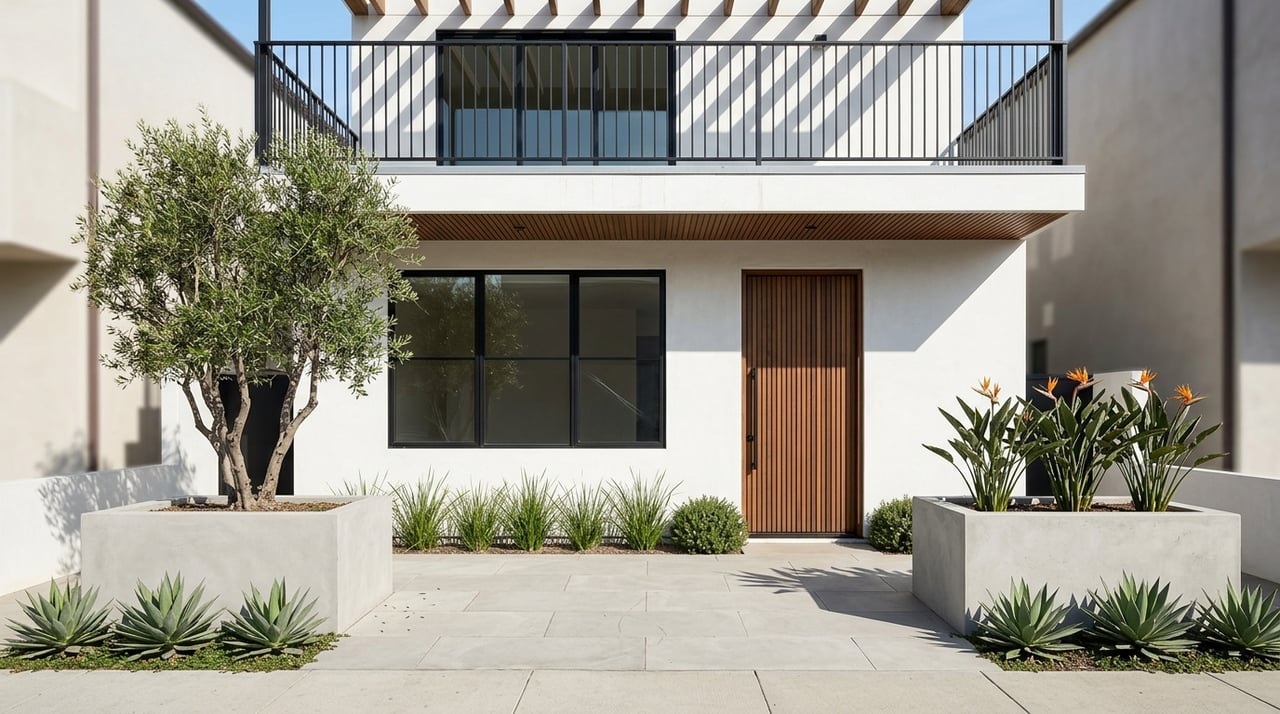
- Greenery: healthy, drought‑tolerant plants like succulents, agave, ornamental grasses, or potted palms
Keep frames and hardware simple. Choose slim profiles and understated finishes so the eye moves to space, light, and views.
Room‑by‑room staging plan
Entry
Make arrival feel like a beachside welcome while showcasing tidy storage.
- Neutral doormat, small bench or narrow console, and a low vase or small ceramic vessel
- A tray for keys and a shallow bowl for mail, both empty and clean
- One medium art print in soft coastal tones
- If the entry doubles as gear storage, add a neat wall hook or a minimal bike rack
- Photo tip: Shoot from inside toward the door to show flow and a tidy exterior path
Living room
Create an airy, social space with a direct connection to the outdoors.
- Low‑profile sofa in a performance linen with pale wood base; add one or two woven cane or rattan accent chairs
- Natural fiber rug to anchor seating and add texture
- Coffee table vignette: a short stack of books, a small bowl, a sculptural object, and a plant
- Sheer or linen window panels for privacy while allowing light
- If there is a patio or balcony, orient seating to highlight that sightline and keep the approach clear
- Photo tip: Stage one focal point like a fireplace or art and keep lens distortion low
Kitchen
Showcase a clean, turnkey kitchen that reads easy and bright.
- Clear 60–70% of counters; leave a bowl of citrus, a wood board, and a potted herb
- Use slim, light bar stools and pull one out slightly to imply use
- Stage one open cabinet with matching dishware and glassware for a tidy look
- Clean or upgrade hardware if needed; polish fixtures and appliances
- Highlight durable, easy‑care surfaces
- Photo tip: Capture lines and finishes, and show the flow to dining or outdoor space if present
Dining area
Signal relaxed entertaining with a simple, flexible setup.
- Set the table for 4–6 with neutral linens and a low centerpiece
- Ensure pendants are centered and dimmable with even light
- Add a small bar cart or console if space allows
- Photo tip: Shoot at eye height to convey table scale without harsh overhead shadows
Primary bedroom
Stage a calm, uncluttered retreat that feels spacious.
- Crisp white or pale linen bedding with a textured throw and 2–3 accent pillows in coastal tones
- Lamps and minimal bedside styling: a tray and a book
- Leave 50–60% of closet space open to demonstrate storage
- Use low furniture and light rugs to maximize height and airiness
- If there is a view or balcony, add a plant or small chair to draw the eye outward
- Photo tip: Shoot from a corner to show depth and keep bedding taut
Guest bedroom or office
Show flexibility without crowding the room.
- In smaller rooms, pair a compact desk and chair with a daybed or sofa bed
- Keep decor neutral and add color through one art piece
- Photo tip: Highlight function with a staged laptop and mug, but avoid personal details
Bathrooms
Aim for a spa‑clean look that signals low maintenance.
- Replace worn shower curtains with glass if feasible, or use a fresh neutral curtain
- Roll or fold towels in white, sand, or muted blues; add a small plant and a soap dispenser
- Clear counters of personal items and polish fixtures; brighten grout
- Photo tip: Wide doorway shot with towels and a small accessory for scale
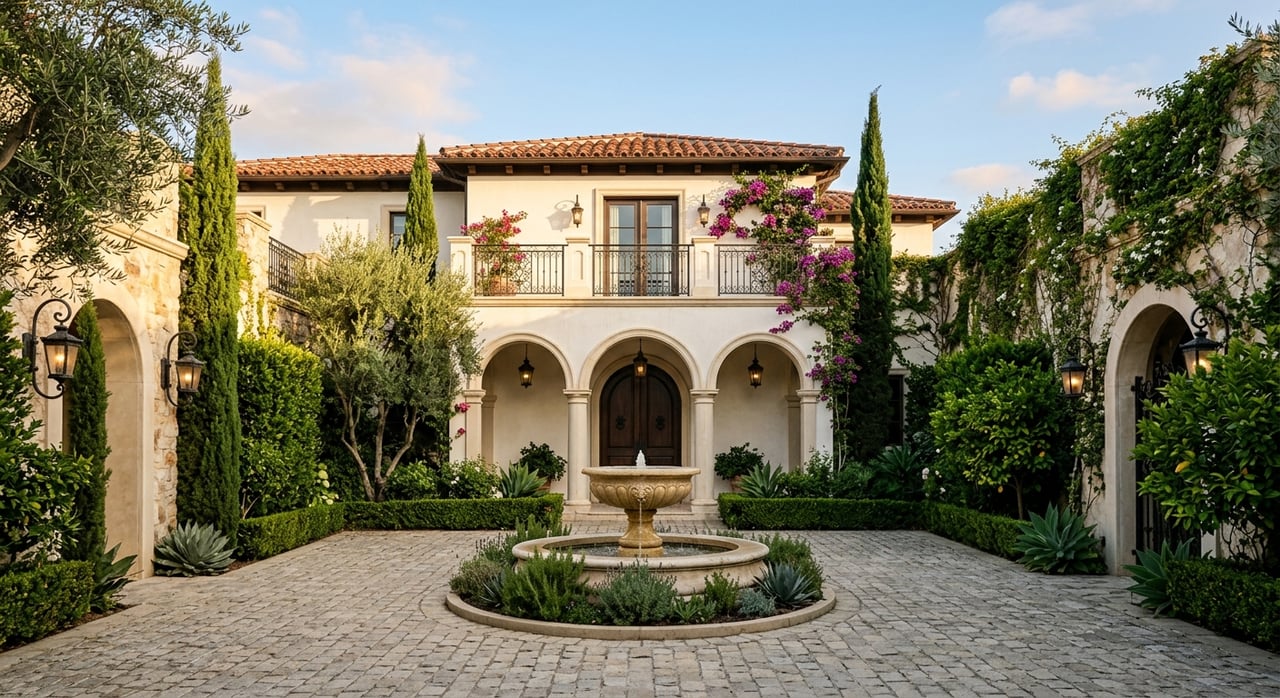
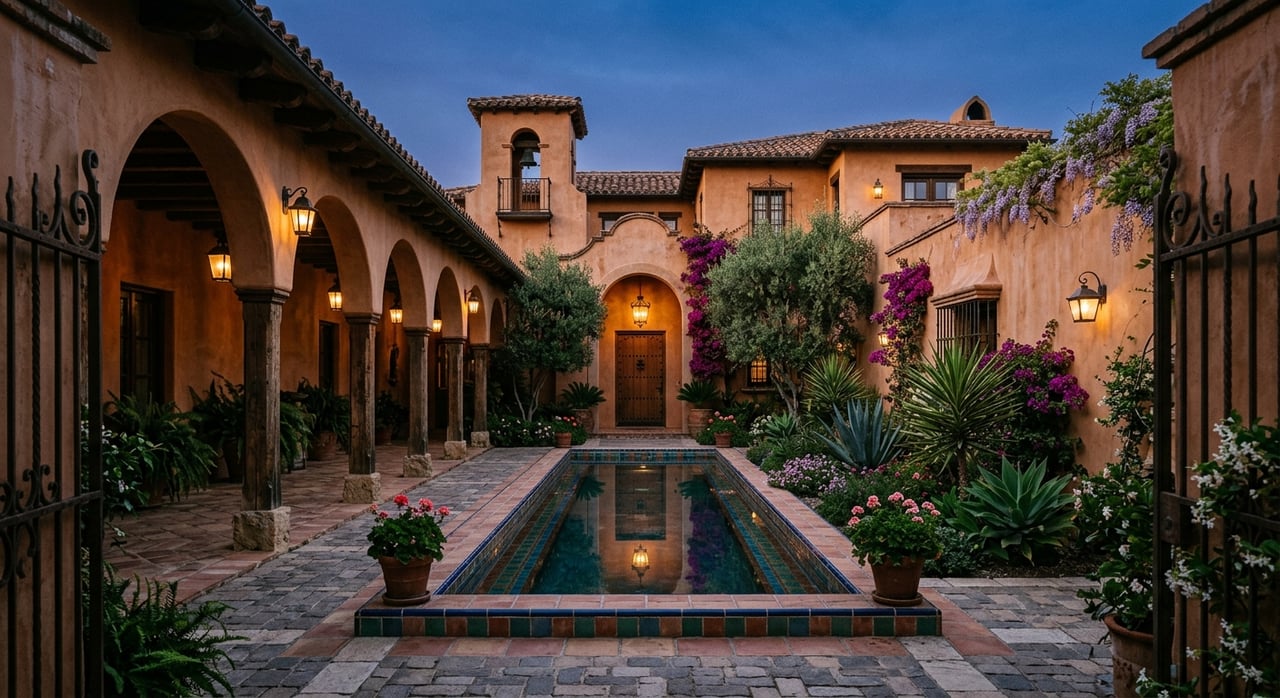
Outdoor spaces
Stage outdoor living as an extension of the interior.
- Size furniture to the space: bistro set for small balconies, lounge or sectional for larger patios
- Use outdoor‑rated cushions and rugs; style with drought‑tolerant plants
- Orient seating to frame canal or beach views and keep barriers low to preserve sightlines
- Add string lights or lanterns to suggest evening use; create one strong seating focal point in narrow yards
- Photo tip: Shoot mid‑afternoon after the marine layer lifts or late afternoon for warmth; show indoor–outdoor continuity
Venice lifestyle cues to include
Canal calm
Use subtle water references to evoke tranquility. Think muted blue linens, glass vases, and a small piece of driftwood art. Keep it understated and serene.
Abbot Kinney touch
Add one or two artisanal or vintage pieces like handmade ceramics or a local print. Keep frames slim and finishes simple so the room stays clean and modern.
Surf and bike culture
Store a surfboard vertically or mount it as wall art with a tidy rack. If bikes are common for the home, show a sleek wall mount system that keeps floors clear. Verify any HOA rules before mounting in common areas.
Prep, budget, and timeline
You can right‑size your staging plan to your goals and timeline. What matters most is a cohesive look and a strong first impression in photos.
- DIY refresh: Paint in warm white, declutter, swap in new textiles, add a few healthy plants and curated accessories
- Partial staging: Professionally stage high‑impact rooms like the living room, kitchen, primary bedroom, and the main outdoor area
- Full staging: Professionally stage the entire home and outdoors with rental furniture, art, and landscaping touches
Staging often speeds time on market and can improve perceived value. Returns depend on price positioning and staging quality. Keep your schedule tight and efficient:
- Prep and declutter: 1–3 days
- Painting and small repairs: 2–7 days
- Professional staging setup: 1 day for small homes, 1–3 days for larger homes
- Photography: Book once staging is complete, usually late morning after the marine layer lifts or during late afternoon for outdoor warmth
Photography that sells Venice
Venice light can be bright or softly diffuse. Work with a photographer who understands coastal lighting so your interiors stay warm and inviting. Turn on all interior lights for photos and open window coverings to maximize daylight without blowing out exteriors. Keep composition focused on indoor–outdoor connections, and if you have canal frontage or water glimpses, include at least one frame that clearly shows the relationship to the water.
For virtual tours, keep styling consistent across rooms and consider a few lifestyle moments like an evening patio or a sunny breakfast vignette to show how the home lives.
Common mistakes to avoid
- Heavy dark furniture that fights the light
- Over‑decorating with beach kitsch; keep references tasteful
- Blocking sightlines to patios, balconies, or views
- Neglecting outdoor spaces or using non‑durable textiles
- Leaving personal items, cords, and small appliances in photos
- Using too many accent colors; stick to one or two for cohesion
How we help Venice sellers
If your listing underperformed or you are preparing to launch fresh, a targeted staging plan can unlock real value. You benefit from a light, cohesive design language, performance materials that hold up in coastal conditions, and a clear indoor–outdoor choreography that photographs beautifully. Pair that with disciplined prep, strategic pricing, and high‑impact distribution to reach the right buyers fast.
Ready to position your Venice property for a premium result? Schedule a Free Home Repositioning Strategy with Unknown Company and get a clear, actionable plan.
FAQs
What makes Venice home staging different?
- Venice staging emphasizes indoor–outdoor flow, light woods, and a curated, artisanal feel that reflects Abbot Kinney, the Boardwalk, and the canals while avoiding kitsch.
Which rooms should I prioritize for staging in Venice?
- At minimum, stage the living room, primary bedroom, and main outdoor area. These spaces drive first impressions and listing photos.
How can I stage a small Venice home without crowding it?
- Use fewer, well‑scaled pieces, lower profile seating, and clear pathways. Keep sightlines open to windows, patios, and views.
What fabrics and rugs work best near the coast?
- Choose performance textiles like solution‑dyed acrylics or quality polyester blends, plus natural fibers like linen and jute. Use outdoor‑rated fabrics outside.
How should I reference Venice’s canals or surf culture in staging?
- Keep it subtle and tasteful. Use muted blue accents, glass, and artisanal pieces. Store surfboards vertically or as wall art with tidy racks.